Mup.mondays : Question One
....aaaaand i am already slightly behind the ball on my mup mondays -- unfortunately, unless i pulled an all nighter yesterday (which i am vowing not to do this year!), there was no possible time to fit one in. so instead, on this gorgeously bright Tuesday, i bring to you mup mondays a day late  . ...question number one!
Q. from Kristen :
How do I do a cool brown smoky eye (shadow/liner?) etc..and what products do u like to use for shadow that don't crease..I have issues w/ that. What tools do u use, I can't ever do that crease thing right w/ my almond shaped eyes.
A. from ksen :
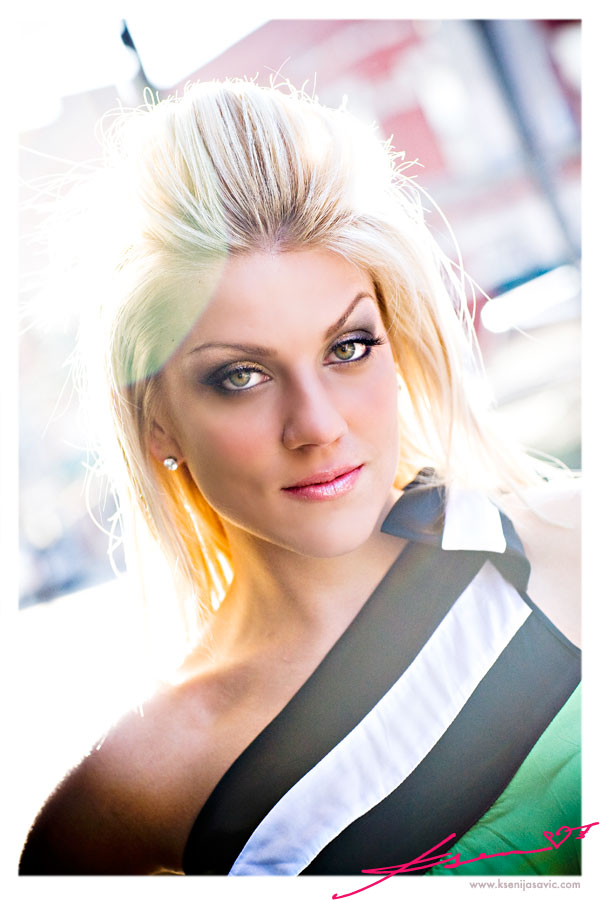
a smoky eye can be done a number of ways & there are also many different levels of what people consider 'smoky'. however, i am going to do my best to break it down as simply as i can! below will be an example of a 'cool brown smoky eye'. please note that the products used may need to be adjusted slightly due to your skin color tones!
first :
in my opinion, i believe that in order to achieve a great smoky eye easily (or any eye-look for that matter), your number one needed tool is a set of fab brushes!!! brushes will make everything SO much easier & also apply your products best. investing in a good set of brushes is essential & when you do, be sure to spend a few extra bucks on some brush cleanser so that you can maintain your brushes. if you do so & take the time to take good care of your brushes, they WILL last... leaving that investment to be not as costly when you stretch it out over the years.
however, with that said & knowing that we all may not have the master set of brushes of our dreams at home, i will try my best to help you create a smoky eye with only 3 brushes!
second :
all the products that i use professionally & that are listed below are from MAC. i can go into this subject more perhaps on another mup mondays!
ok! here we go :
step 1)
begin with a good base. i adore MAC Eye Paints, as well as MAC Paint Pots. for myself, i usually use MAC 'Painterly' Paint Pot. i would suggest applying it all over your eye (from the lid up into the brow bone) as a base with the soft & fluffy MAC #217 Blending Brush. however, instead of a brush, you may use your ring finger to apply this product as long as you apply it gently!! both MAC Eye Paints & MAC Paint Pots go on easily & then set -- once set i always say you can 'cry, sweat, get rained on & your shadows will stay!' the key, however is that a 'little goes a long way' -- so no need to glob it up! in fact, with all MAC products it is pretty much a given that 'a little goes a long way'. you will always get the MOST out of your products & be so surprised as to how long they last you!
step 2)
take MAC Stubborn Brown Powerpoint Eye Pencil (also glides on easily & then sets becoming waterproof) & line the top of your lid, as well as slightly 'hug' or round out the outer corner of your eye with a touch of the liner. don't worry about how 'perfect' your line is either because the next step will be to take the MAC #219 Pencil Brush & smudge the line well.
step 3)
use the MAC #239 Eye Shader Brush & apply MAC Tempting Eye Shadow (once again, this is just an example) as your lid color. then dip your #217 Blending Brush into your crease color, in this case i would suggest MAC Twinks Eye Shadow. place the round fluffy #217 Blending Brush at the ou
How do I do a cool brown smoky eye (shadow/liner?) etc..and what products do u like to use for shadow that don't crease..I have issues w/ that. What tools do u use, I can't ever do that crease thing right w/ my almond shaped eyes.
a smoky eye can be done a number of ways & there are also many different levels of what people consider 'smoky'. however, i am going to do my best to break it down as simply as i can! below will be an example of a 'cool brown smoky eye'.
in my opinion, i believe that in order to achieve a great smoky eye easily (or any eye-look for that matter), your number one needed tool is a set of fab brushes!!! brushes will make everything SO much easier & also apply your products best. investing in a good set of brushes is essential & when you do, be sure to spend a few extra bucks on some brush cleanser so that you can maintain your brushes. if you do so & take the time to take good care of your brushes, they WILL last... leaving that investment to be not as costly when you stretch it out over the years.
however, with that said & knowing that we all may not have the master set of brushes of our dreams at home, i will try my best to help you create a smoky eye with only 3 brushes!
all the products that i use professionally & that are listed below are from MAC. i can go into this subject more perhaps on another mup mondays!
ok! here we go :
step 1)
begin with a good base. i adore MAC Eye Paints, as well as MAC Paint Pots. for myself, i usually use MAC 'Painterly' Paint Pot. i would suggest applying it all over your eye (from the lid up into the brow bone) as a base with the soft & fluffy MAC #217 Blending Brush. however, instead of a brush, you may use your ring finger to apply this product as long as you apply it gently!! both MAC Eye Paints & MAC Paint Pots go on easily & then set -- once set i always say you can 'cry, sweat, get rained on & your shadows will stay!' the key, however is that a 'little goes a long way' -- so no need to glob it up! in fact, with all MAC products it is pretty much a given that 'a little goes a long way'. you will always get the MOST out of your products & be so surprised as to how long they last you!
step 2)
take MAC Stubborn Brown Powerpoint Eye Pencil (also glides on easily & then sets becoming waterproof) & line the top of your lid, as well as slightly 'hug' or round out the outer corner of your eye with a touch of the liner. don't worry about how 'perfect' your line is either because the next step will be to take the MAC #219 Pencil Brush & smudge the line well.
step 3)
use the MAC #239 Eye Shader Brush & apply MAC Tempting Eye Shadow (once again, this is just an example) as your lid color. then dip your #217 Blending Brush into your crease color, in this case i would suggest MAC Twinks Eye Shadow. place the round fluffy #217 Blending Brush at the ou
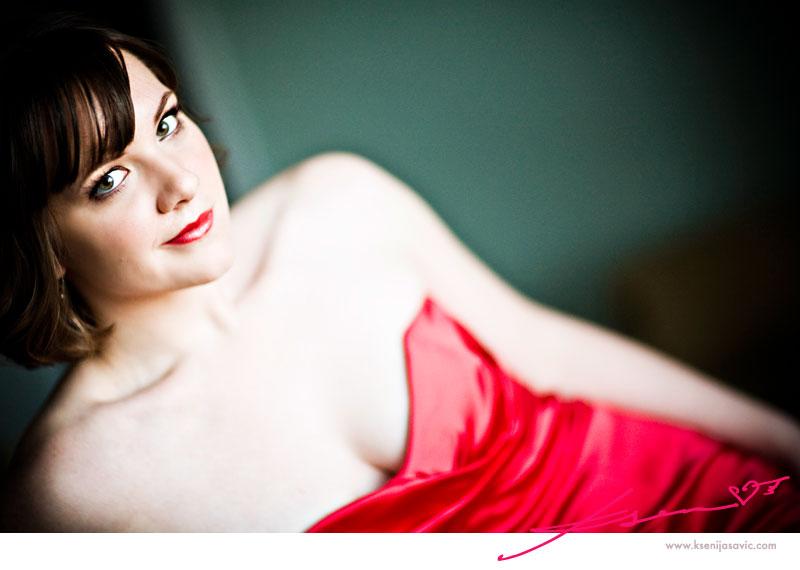
and another version of a smoky eye of the FABUUUlous Nicole :